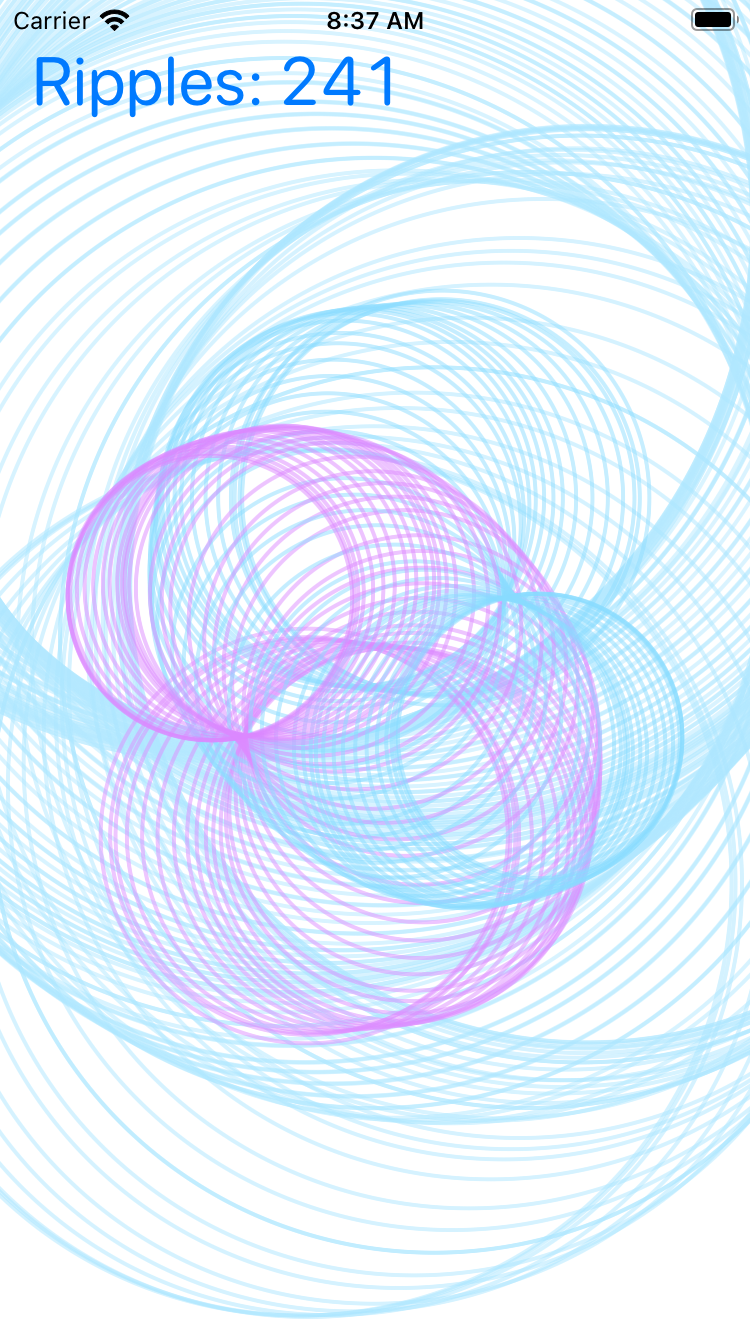
Calming Ripples is a SwiftUI app that lets you draw animated ripples.
Available for iOS, iPadOS and macOS.
Study the source code to learn these techniques:
- Handle multi-finger touch events.
- Draw complex 2D designs using the SwiftUI Canvas view.
- Animate using the SwiftUI TimelineView view.
- Use the onChanged() view method to create a dynamically changing animation.
You could use the techniques in this project to create a 2D game.
General app architecture
The app architecture is:
- Model structs and classes:
- contain the data that’s going to be animated.
- View structs:
- display the model data.
- animate the model data.
- interpret user gestures to modify the model data.
Model Data
For this application, the model is just an array of ripples.
struct Ripple
A ripple contains a center, a start time, and a color. This representation was chosen to be easy to animate.
import Foundation
import SwiftUI

typealias RippleColor = SIMD3<Float>

struct Ripple {
  var center: CGPoint
  var start: Date
  var color: RippleColor
}

extension SIMD3 where Scalar == Float {
  var color : Color {
    Color(red:Double(x), green: Double(y), blue: Double(z))
  }
}
class Model
A model contains an array of ripples, stored in creation-time order. The total number of ripples is capped, to avoid animation glitches if too many ripples are drawn at the same time.
import Combine
import Foundation

class Model : ObservableObject {
  @Published var ripples = [Ripple]()

  // Maximum number of ripples.
  var maximumNumberOfRipples: Int?

  init(maximumNumberOfRipples: Int? = nil) {
    self.maximumNumberOfRipples = maximumNumberOfRipples
  }

  var count: Int { ripples.count }

  var isEmpty: Bool { ripples.isEmpty }

  func append(ripple: Ripple) {
    ripples.append(ripple)
    if let maximumNumberOfRipples = maximumNumberOfRipples, ripples.count > maximumNumberOfRipples {
      ripples.removeFirst()
    }
  }

  func trim(start: Date) {
    if let first = ripples.first, first.start < start {
      ripples = Array(ripples.drop { $0.start < start })
    }
  }
}
Views
The app uses several views:
| Name | Description |
|---|---|
| ContentView | The main app view. |
| Metrics | Displays the number of active ripples. Only used in debug builds. |
| NFingerTapView | Utility view for handling multi-finger input. Reusable in other apps. |
| Pond | Draws the ripples from the Model. |
ContentView
The content view has a few responsibilities:
- It holds the model.
- It contains the TimelineView that does the animation.
- Note that the animation is paused when the model is empty.
- Uses the Pond view to draw the model.
- For debug builds, composites the Metrics over the Pond.
import SwiftUI

struct ContentView: View {

  @StateObject private var model = Model(maximumNumberOfRipples: 1000)

  var body: some View {
    TimelineView(.animation(minimumInterval: 1.0 / 120, paused: model.isEmpty)) { timeline in
      ZStack {
        Pond(model: model, date:timeline.date)
          .ignoresSafeArea()
        #if DEBUG
        Metrics(model: model)
        #endif
      }
    }
    .background(.white)
  }
}
Metrics
This view displays the number of active ripples. It’s useful for debugging the code for adding and removing ripples. It’s only shown for debug builds.
import SwiftUI

struct Metrics: View {
  @ObservedObject
  var model:Model
  @State private var metricsOpacity: Double = 0.0

  var body: some View {
    VStack {
      HStack {
        Text("Ripples: \(model.count)")
          .font(.system(.largeTitle, design: .rounded).monospacedDigit())
          .foregroundColor(.accentColor)
          .padding(.leading)
        Spacer()
      }
      Spacer()
    }
    .opacity(metricsOpacity)
    .onChange(of: model.isEmpty) { isEmpty in
      withAnimation {
        metricsOpacity = isEmpty ? 0.0 : 1.0
      }
    }
  }
}
NFingerTapView
This is a utility view that keeps track of ongoing touch gestures. It can be reused in other applications.
See the Pond view, below, for an example of how to use NFingerTapView.
import Foundation
import SwiftUI
import UIKit

/// Adapted from https://stackoverflow.com/questions/61566929/swiftui-multitouch-gesture-multiple-gestures
class NFingerGestureRecognizer: UIGestureRecognizer {

  var tappedCallback: (UITouch, CGPoint?) -> Void

  init(target: Any?, tappedCallback: @escaping (UITouch, CGPoint?) -> ()) {
    self.tappedCallback = tappedCallback
    super.init(target: target, action: nil)
  }

  override func touchesBegan(_ touches: Set<UITouch>, with event: UIEvent) {
    for touch in touches {
      tappedCallback(touch, touch.location(in: touch.view))
    }
  }

  override func touchesMoved(_ touches: Set<UITouch>, with event: UIEvent) {
    for touch in touches {
      tappedCallback(touch, touch.location(in: touch.view))
    }
  }

  override func touchesEnded(_ touches: Set<UITouch>, with event: UIEvent) {
    for touch in touches {
      tappedCallback(touch, nil)
    }
  }

  override func touchesCancelled(_ touches: Set<UITouch>, with event: UIEvent) {
    for touch in touches {
      tappedCallback(touch, nil)
    }
  }

}

struct NFingerTapView: UIViewRepresentable {

    var tappedCallback: (UITouch, CGPoint?) -> Void

    func makeUIView(context: UIViewRepresentableContext<NFingerTapView>) -> NFingerTapView.UIViewType {
        let v = UIView(frame: .zero)
        let gesture = NFingerGestureRecognizer(target: context.coordinator, tappedCallback: tappedCallback)
        v.addGestureRecognizer(gesture)
        return v
    }

    func updateUIView(_ uiView: UIView, context: UIViewRepresentableContext<NFingerTapView>) {
        // empty
    }

}
Pond
The pond view has three responsibilities:
- Display the model using a Canvas view.
- Change the model state when the current time changes by using an onChanged() method.
- Add ripples to the model when the user touches the display by using an NFingerTapView.
The key trick for creating a SwiftUI-based simulation or animation or game is to use .onChange(of: date) to update the model.
(The date is updated by the enclosing TimelineView.)
import SwiftUI

fileprivate let rWhite = RippleColor(1.0,1.0,1.0)

fileprivate let kColors = [
  RippleColor(0.4627, 0.8392, 1.0),
  RippleColor(0.8392, 0.4627, 1.0),
  RippleColor(0.4627, 1.0, 0.8392),
  RippleColor(1.0, 0.4627, 0.8392),
  RippleColor(1.0, 0.8392, 0.4627),
  RippleColor(0.8392, 1.0, 0.4627)
]

struct Pond: View {
  let lifetime: TimeInterval = 14
  @ObservedObject
  var model: Model
  @State
  private var touches = [UITouch:RippleColor]()
  let date: Date
  var body: some View {
    ZStack {
      Canvas { context, size in
        for ripple in model.ripples {
          let radius = (date.timeIntervalSince(ripple.start)) * 40.0
          let diameter = radius * 2
          let x0 = ripple.center.x - radius
          let y0 = ripple.center.y - radius
          let rect = CGRect(origin: CGPoint(x: x0, y: y0), size: CGSize(width: diameter, height: diameter))
          let circle = Path(ellipseIn: rect)
          let fade: Float = Float(max(0, min(1.0, date.timeIntervalSince(ripple.start) / lifetime)))
          let color = ((1.0 - fade) * ripple.color + rWhite * fade).color.opacity(0.5)
          context.stroke(circle, with: .color(color), lineWidth: 2)
        }
      }
      NFingerTapView { touch, location in
        if let location = location {
          var color: RippleColor? = touches[touch]
          if color == nil {
            color = kColors[touches.count % kColors.count]
            touches[touch] = color
          }
          model.append(ripple:Ripple(center:location, start:Date(), color:color!))
        } else {
          touches.removeValue(forKey:touch)
        }
      }
    }
    .onChange(of: date) { date in
      let deadline = date - lifetime
      model.trim(start:deadline)
    }
  }
}
Things you can do
The sky’s the limit, but here’s some things you can do to modify this app:
- Change the maximum number of ripples. It’s currently capped at 1000 in order to display smoothly on slower devices.
- Change the way ripples are drawn. Why not square ripples?
- Cycle the colors of the ripples.
- Simulate water current, wind or gravity by changing the position of the ripple centers over time.
- Add new kinds of objects, like leaves, or fish.
You can also use the basic structure of a model, a Canvas, a TimelineView and a NFingerTapView to build many kinds of 2D animations or games.
For general animation, it’s helpful to calculate the “delta” time interval since the last animation. You can do that by:
@State var lastDate = Date()

var body: some View {
  // ...
  .onChange(of: date) { date in
    let delta = date.timeIntervalSince(lastDate)
    lastDate = date
    // use delta to update the model...
  }
}